
Now with HTTPS!
PUBLISHED 7/5/2025
WRITTEN BY Christopher McRae
This post's purpose is to document how easy it is to install a mobile two way radio in an older vehicle. This is not a tutorial but just a record of my experience.
I have had a Realistic TRC-435 40 channel CB radio in my possession for years but never got around to installing it in my vehicle until now. The TRC-435 is a very simple AM only 40 channel mobile CB transceiver from the early 1990s, it has basic functionality including gain, squelch, and tone controls. It also has a PA speaker output for those who are into that sort of thing. As is the case with most mobile radios, the TRC-435 is powered by 12 volts and uses a "UHF" connector for the antenna.
The install process is straight forward. For many, the most difficult part will likely be mounting the radio, especially if you want a clean looking install.
Here is a general overview of the install process:
I opted to connect the radio directly to my battery. This is generally the recommended way to power the radio as it provides the most current and the least interference. Some people also opt to power their radio via a 12 volt source in the vehicle's fuse box. The easiest way to power your radio is to use a cigarette lighter port adapter. While easy, I would limit cigarette lighter setups to receiving only to prevent excess current draw blowing a fuse.
Green wire is the 12 volt source for my radio

Battery terminal with my new wire
When powering your radio directly from the vehicle's battery you must find or drill a hole in the firewall to run the wires. On the driver's side I had access to a hole that was already being used for running wires and was able to use that.
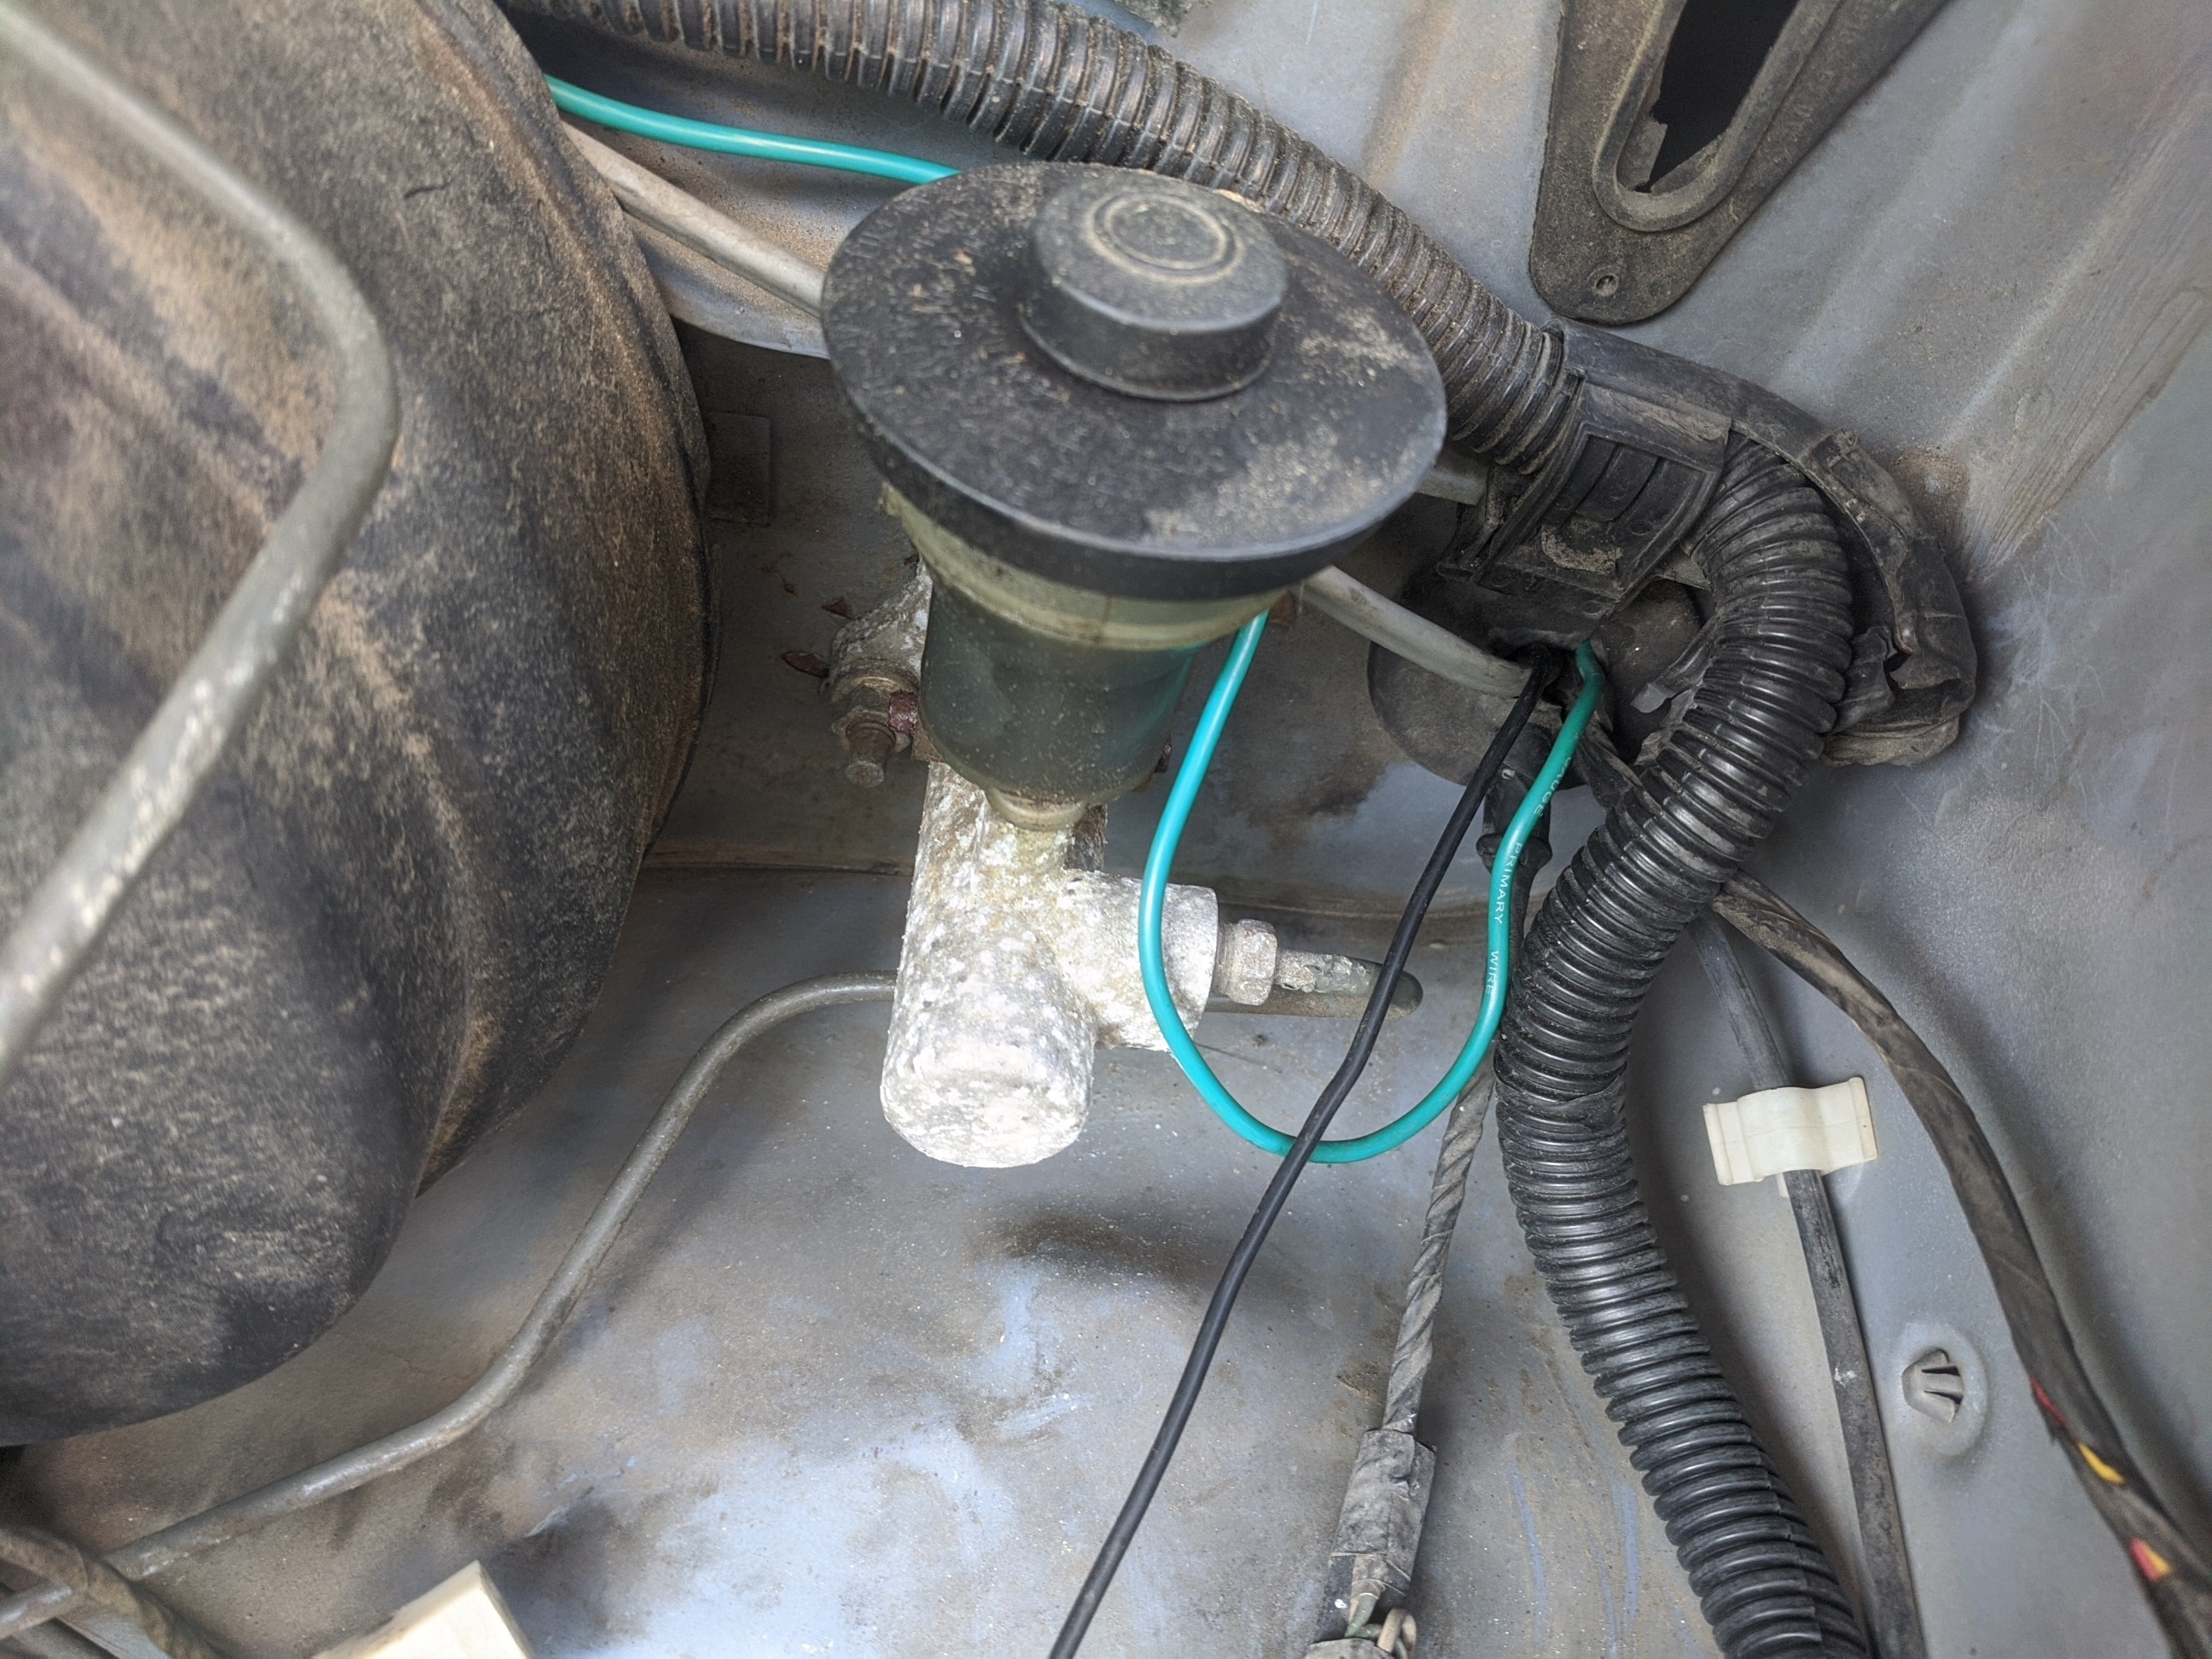
I used the hole right of the clutch master cylinder
After your +12 volt line is installed you must find a ground point. Most vehicles should have many grounding locations under the hood, you could even connect directly up to the negative terminal on the battery.
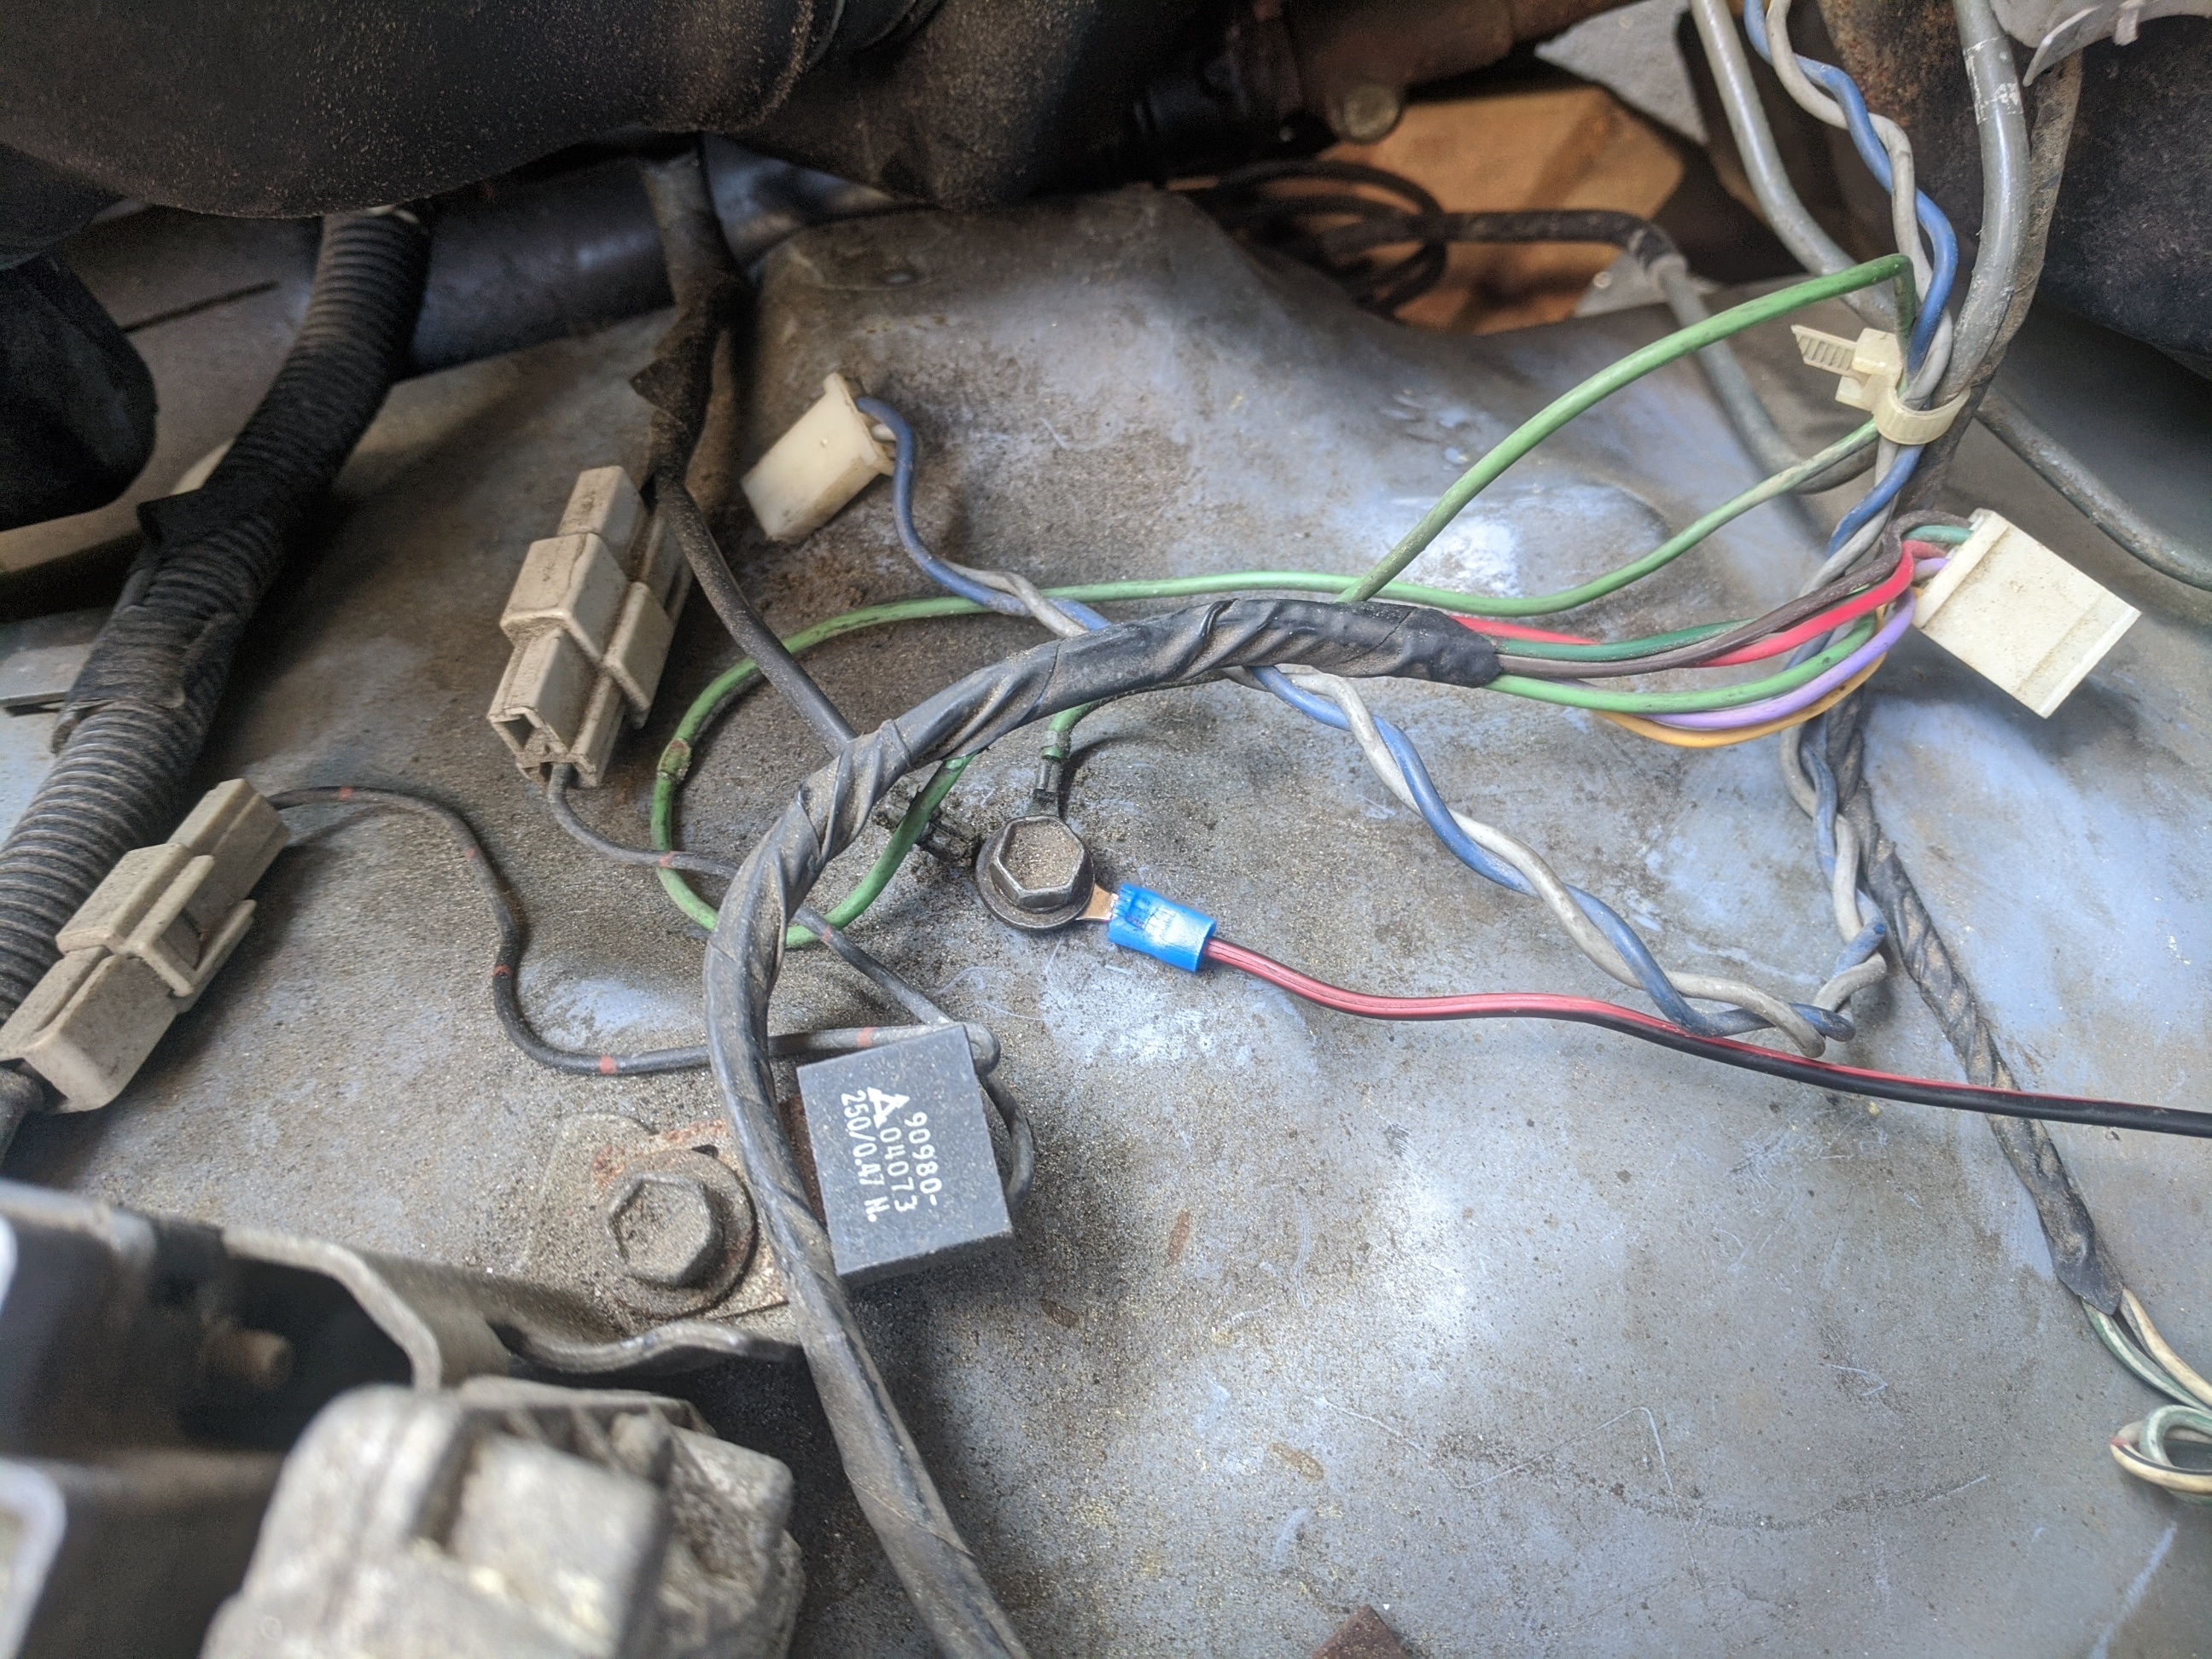
I tapped into one of the body ground points
My two new power lines entered the interior of the vehicle behind the pedals. I ran the wires under the carpet to the center of the dashboard where my radio was mounted.
I used a simple mag-mount antenna placed on the top of the cab with the coaxial cable entering the interior through the top of the driver's door. I plan on upgrading to a better hood mounted antenna later on.
I had lost the mounting bracket for my transceiver so I just stuck the radio above my single din stereo. It resulted in an easy but lazy installation.
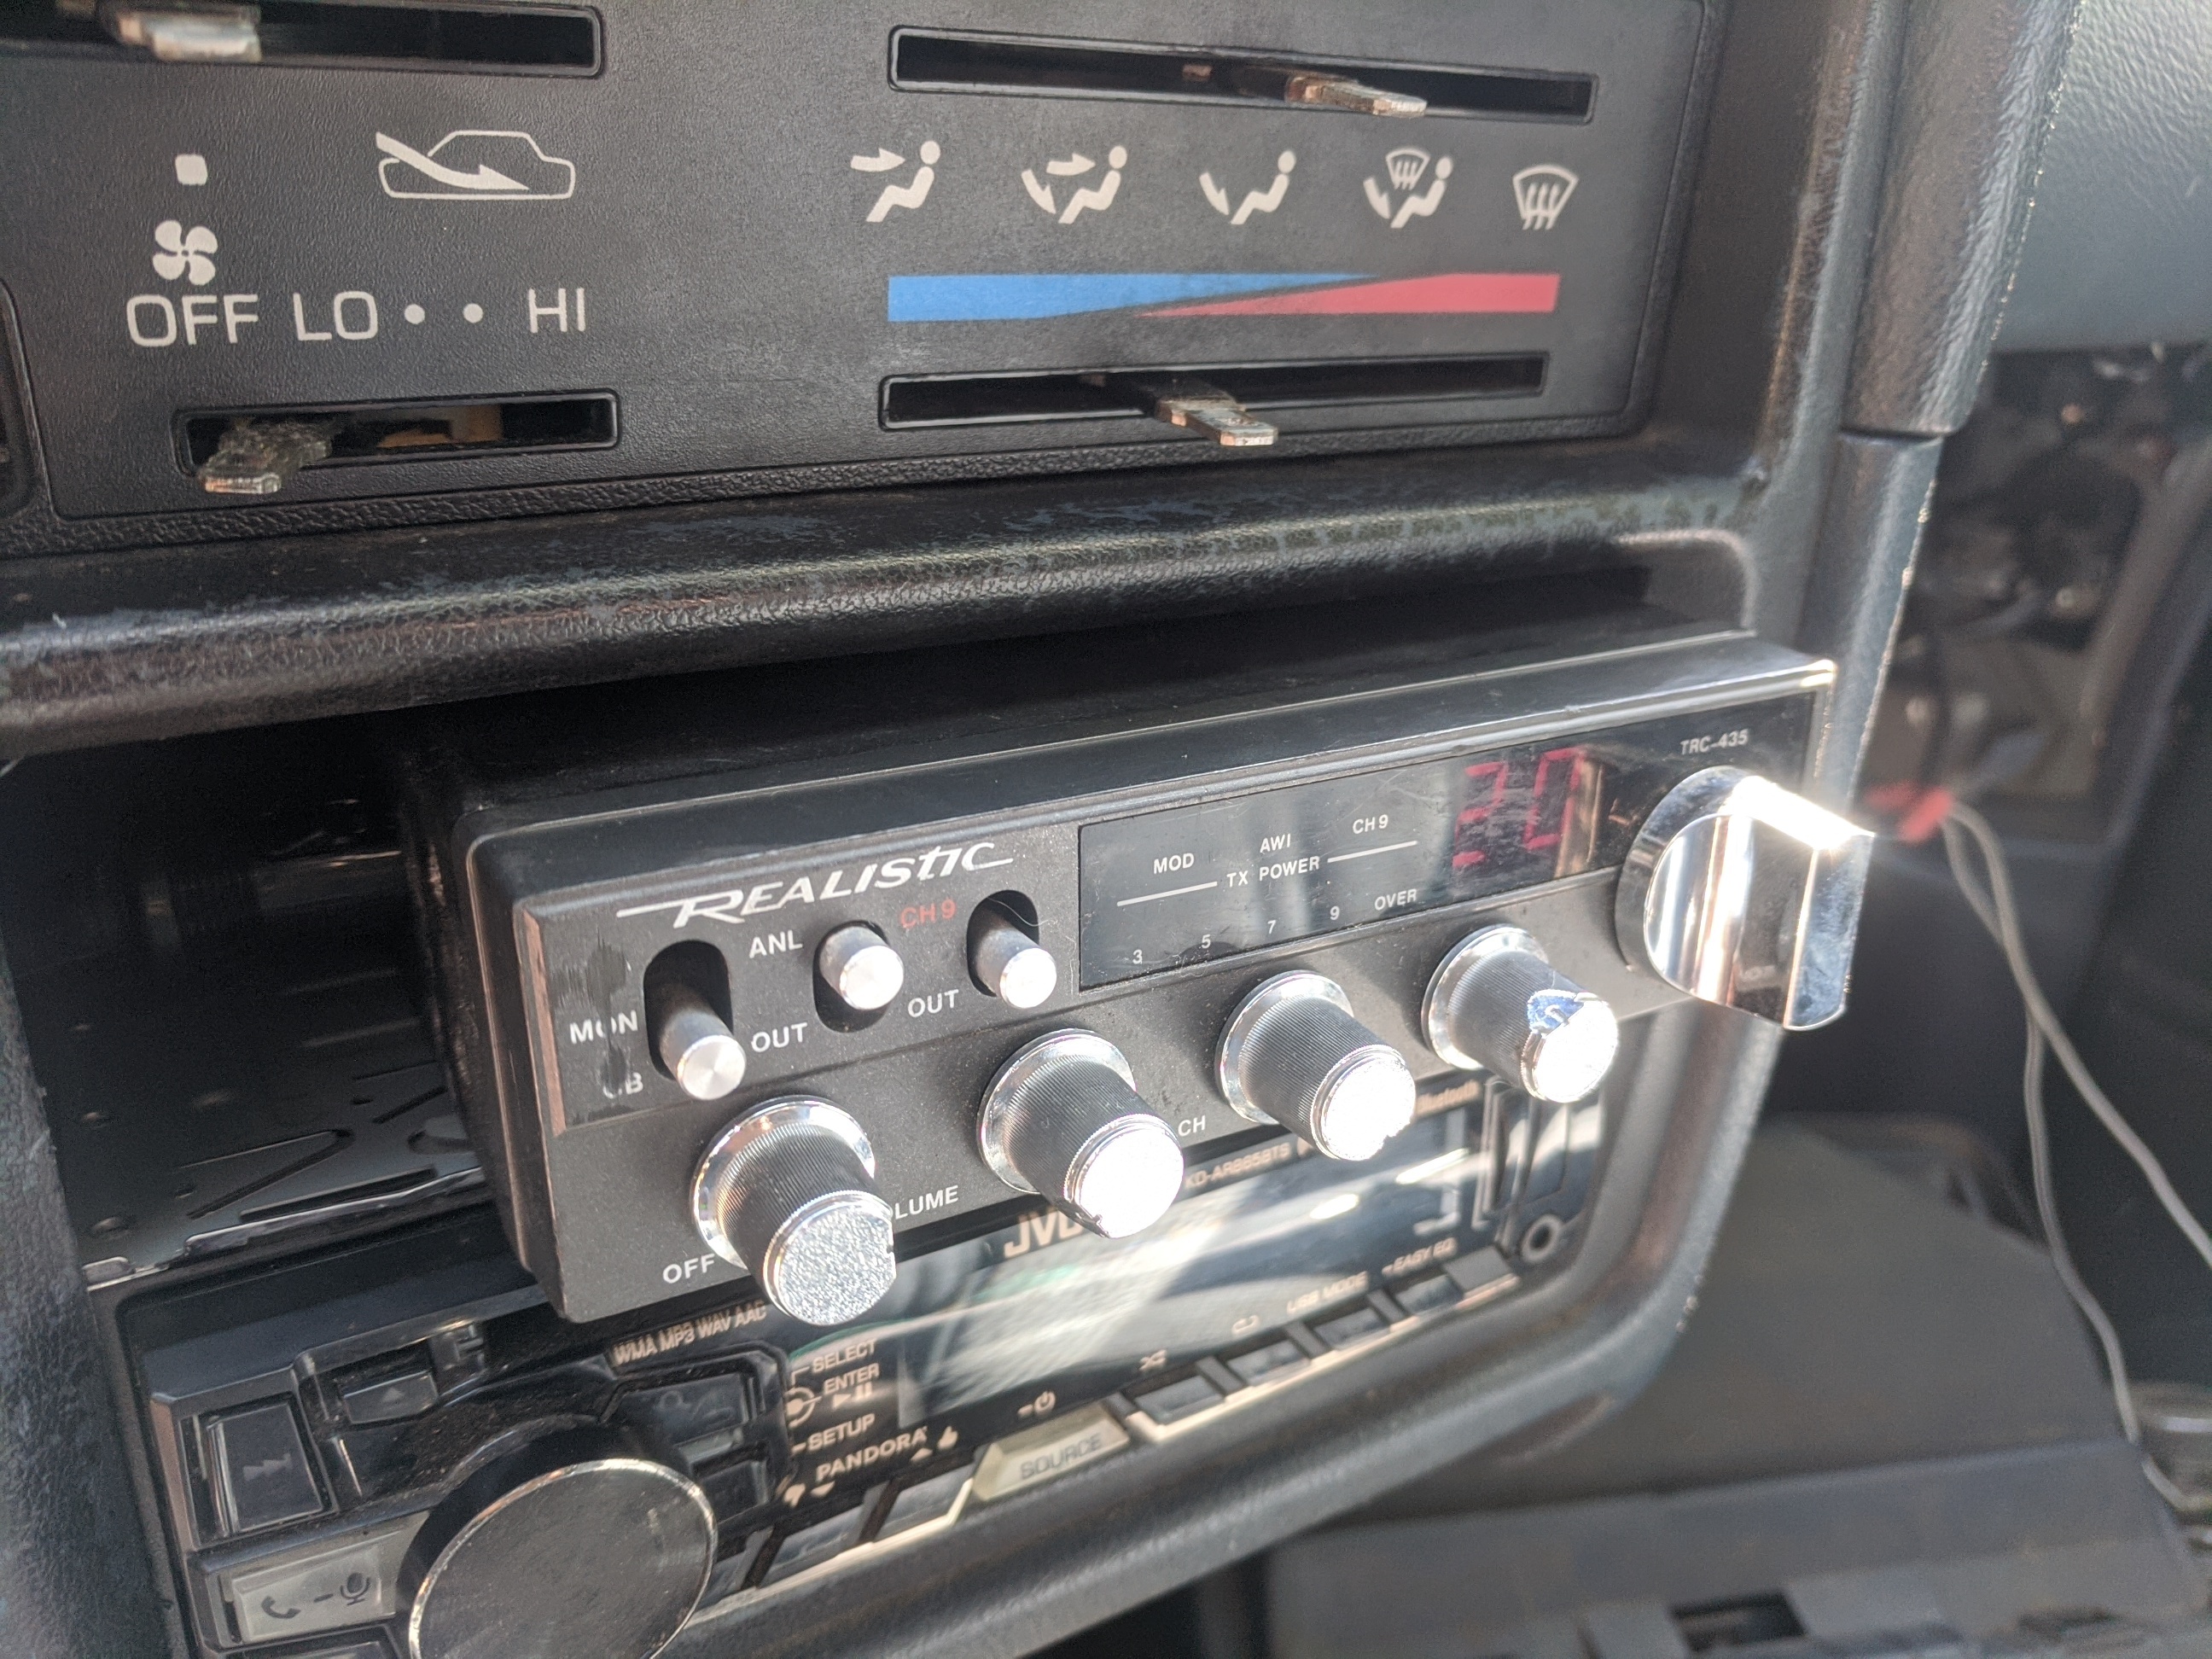
Radio "installed"
I decided to mount the microphone on the dashboard below by hazard switch where there was a blank insert.
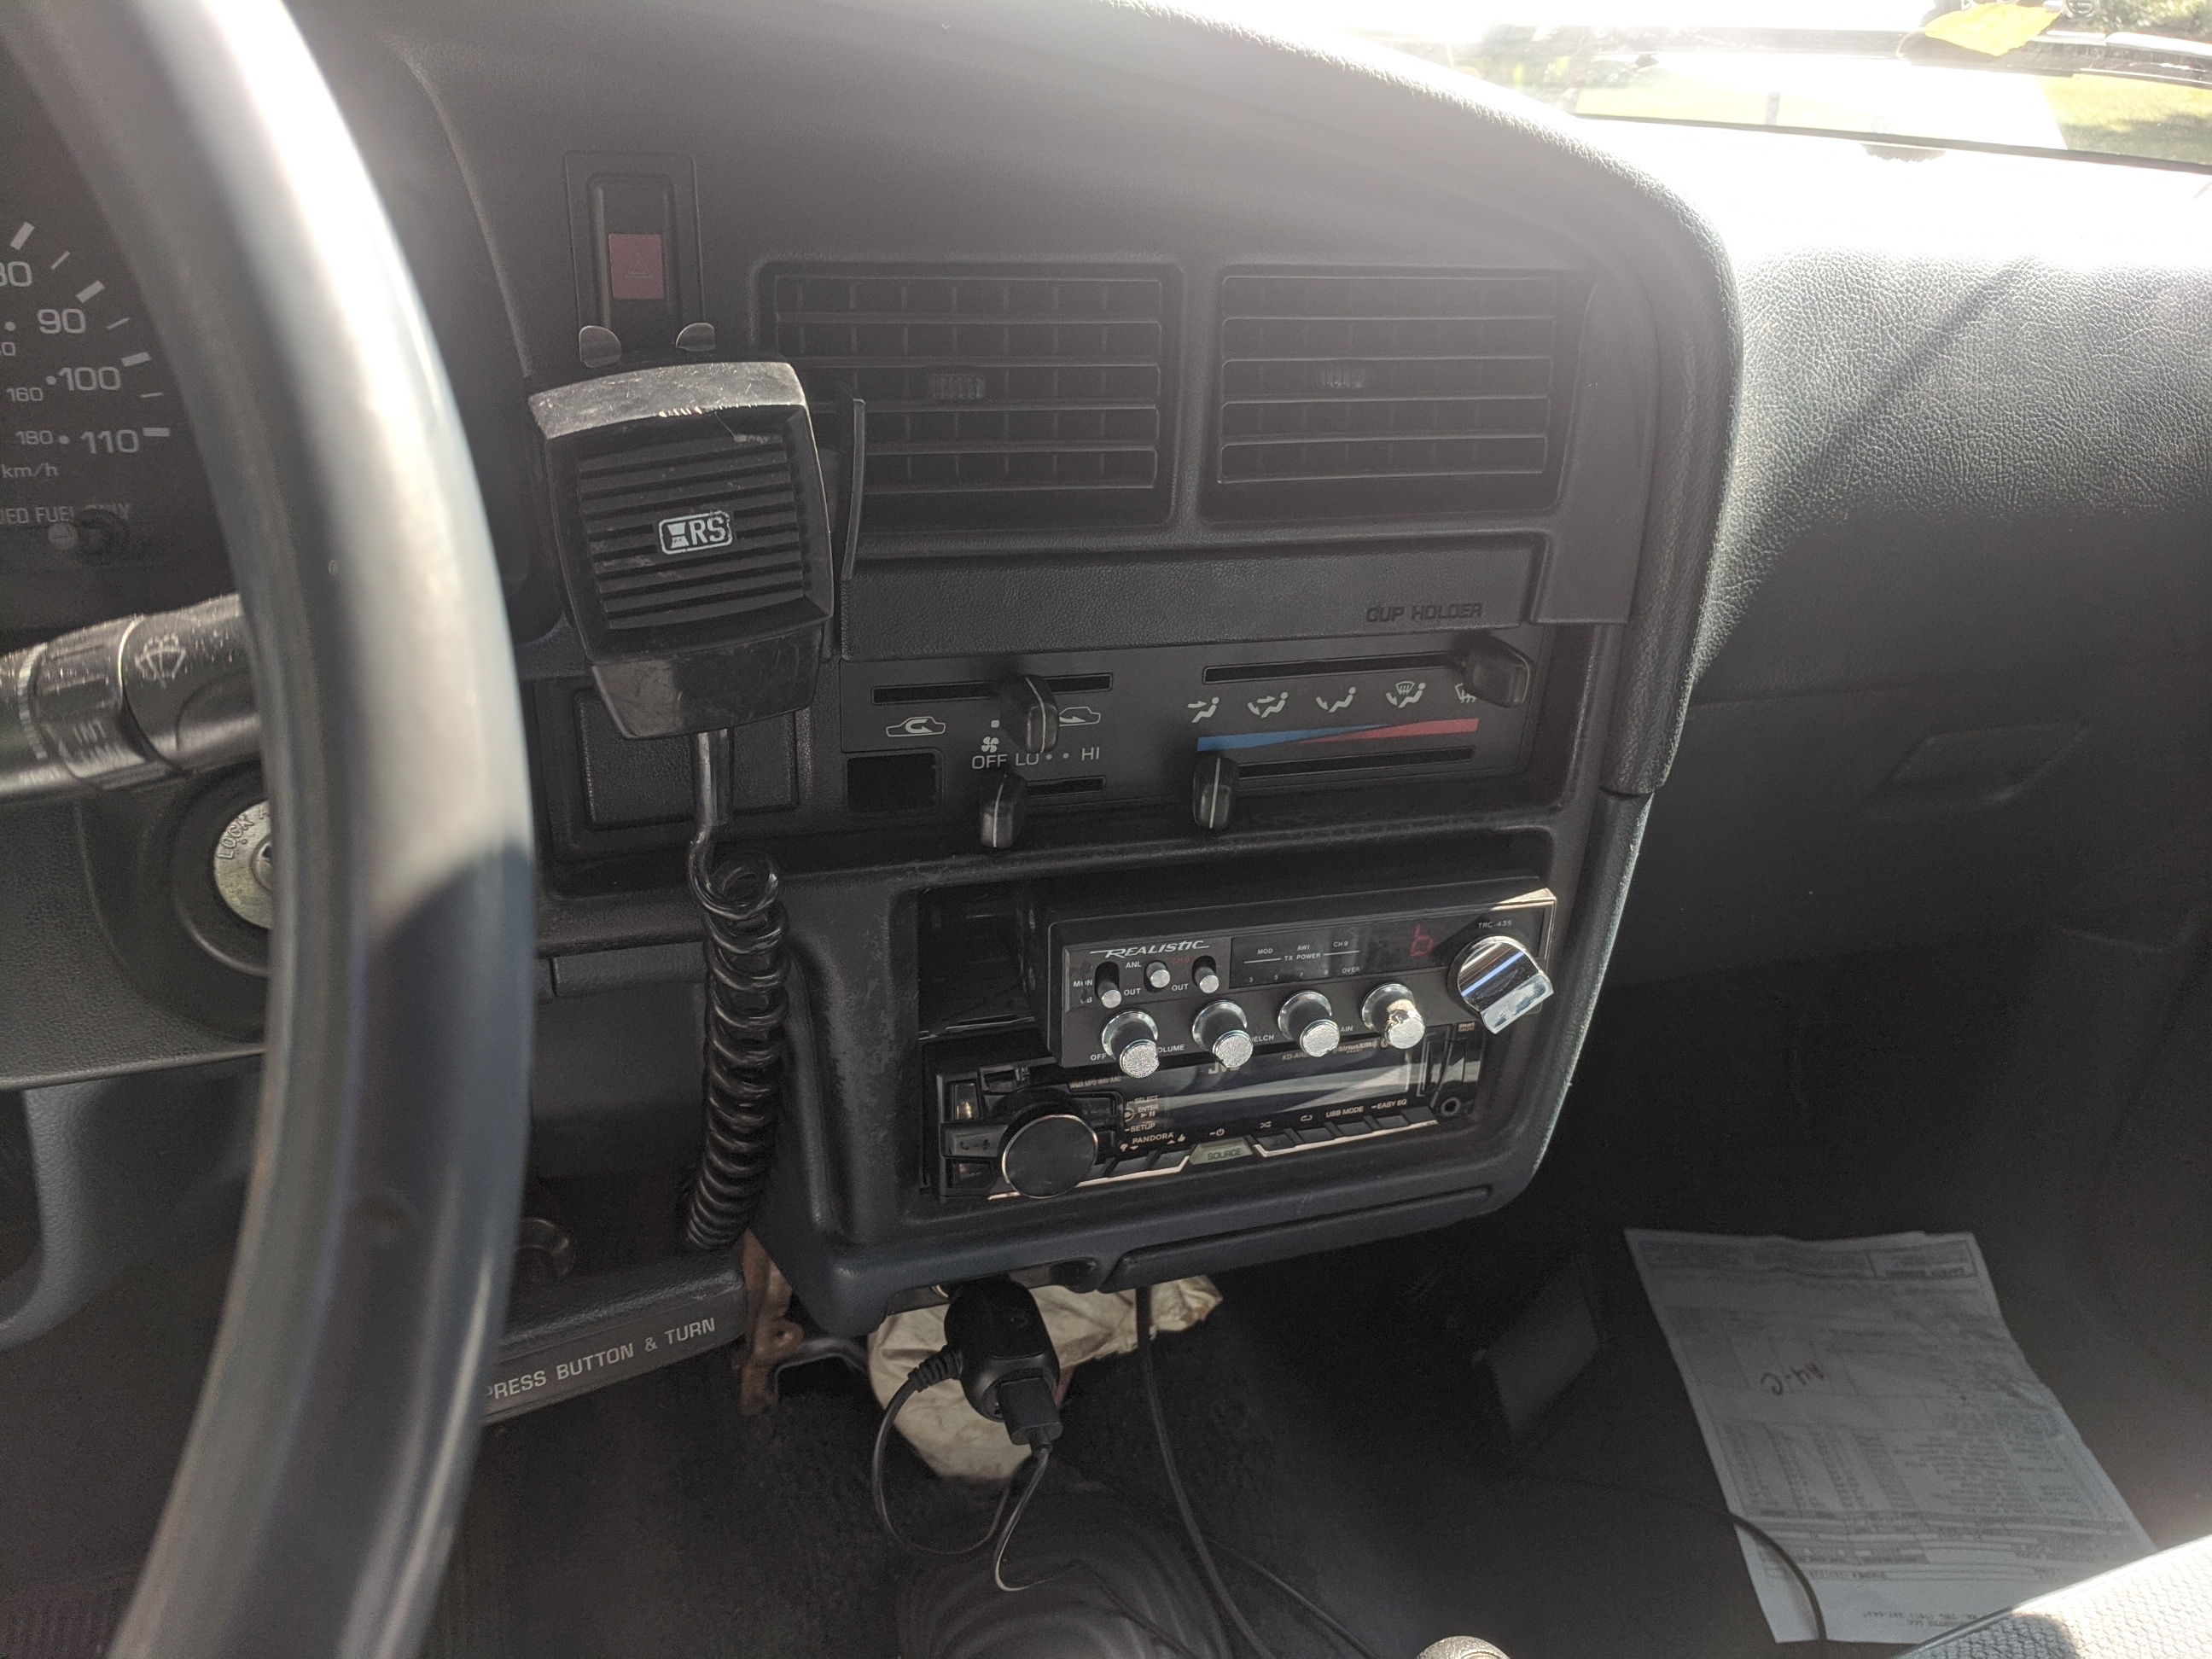
Final product
The TRC-435 has a built in speaker so I did not need to worry about an audio setup.
My setup is crude but I am satisfied with it for now. If I make any major changes I may publish a new post about it.
But now I can hear the "Super Bowl" on channel 6 even better!